What makes modern phones so powerful and useful is that they're now much more than just a phone. They come equipped with features like GPS, NFC, Web browsers, high-definition cameras and a myriad of other features outside the realm of simple telephony. As developers, this allows us the opportunity to tap into and combine these features to provide a rich user experience. Your application can know exactly where a user is, what they're seeing, what the weather's like, and any number of other things you can think of.
For many, phones have even taken over the role of being their primary camera. The quality of the cameras included with new phones can rival that of many standalone handheld digital cameras on the market.
Even better, the Android SDK provides the ability to use the built-in camera within your applications. Whether applying photo filters and creating the next Instagram, scanning QR codes, or simply allowing the user to share what they're seeing with friends, Android's camera API takes care of the hard work for you.
There are several options available to make use of the device's camera in an Android application. The rawest method is to hook directly into the camera's feed and implement the surrounding UI yourself. This can be useful if you truly need a customized experience for snapping pictures; in many cases, though, this is overkill for what you'll need.
Android has an overarching theme of keeping things DRY (Don't Repeat Yourself) with regards to creating the activities that make up an application. If another application provides an activity to perform the same task you want in your application, you can simply hook directly into that activity, tying it right into your workflow. This has the added bonus of giving the user a UI they're already familiar with, instead of reinventing the wheel every time.
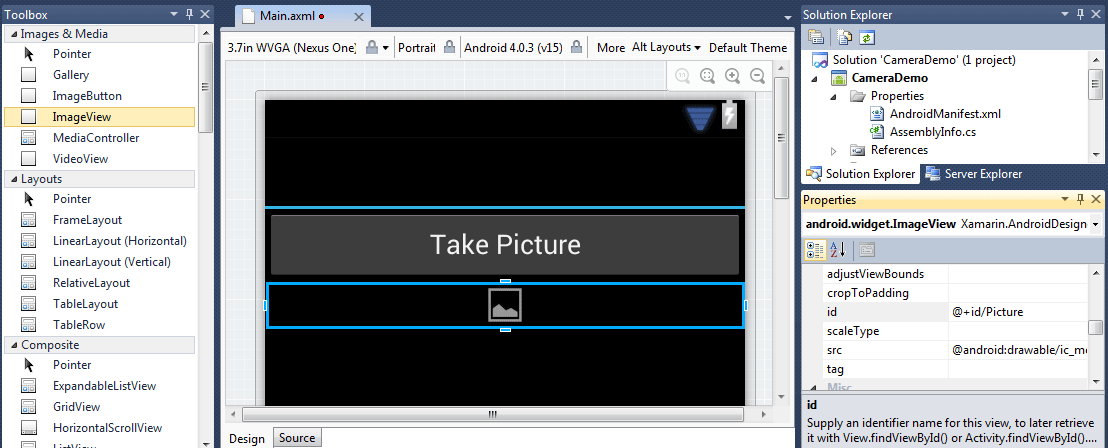
This article will explore the latter option, using Android's built-in camera activity to allow the user to snap a photo. Once the photo's taken, it will switch back to the application and show the image just captured. To get started, open Visual Studio and create a new Mono for Android application named CameraDemo. Once the project's created, you can delete Activity1.cs since it's not needed; but the rest of the files can be left as-is.
First, declare that the application requires access to the device's camera. In Android, this is done by requesting permissions required in the application's AndroidManifest.xml file. Mono for Android simplifies the creation of this file, allowing you to choose permissions directly through the Visual Studio UI and generate the entries in the manifest automatically at build time.
Read more: Visual Studio magazine
QR: 